 All materials on this site © PAR Electronics, Inc.
PAR Electronics, Inc.
P.O Box 645
Glenville, NC 28736
Voice: 828-743-1338
Fax: 866-304-8479
Email us if you have questions or comments about this site.
Site by
Pinnacle Web Design
Vintage Radio Restoration - WRL TC-6A 6m AM Transceiver
WRL Comet Kits TC-6A
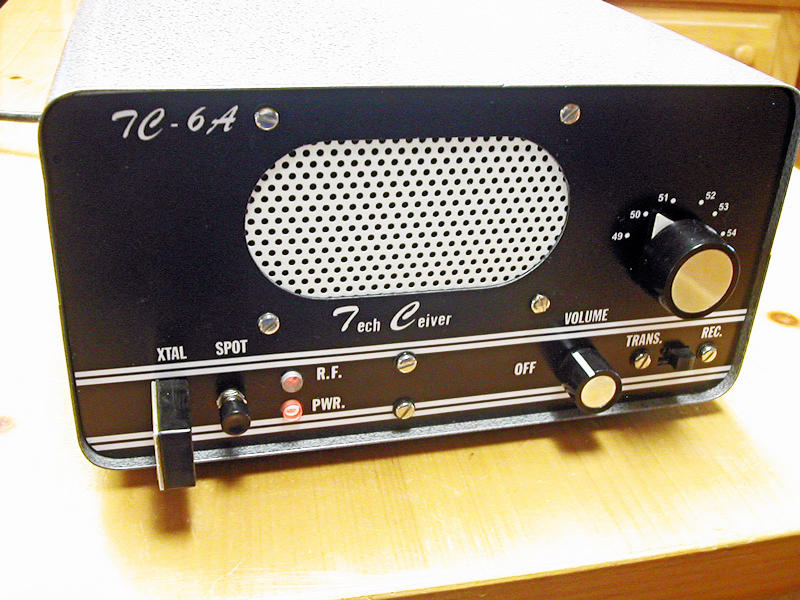
I found this little 6M AM rig on one of the amateur chat groups. I was attracted to it because of its very small size and the simple fact that I had never before seen one.
An advertisement shows the price at $39.95 and the AC supply for $15.95.
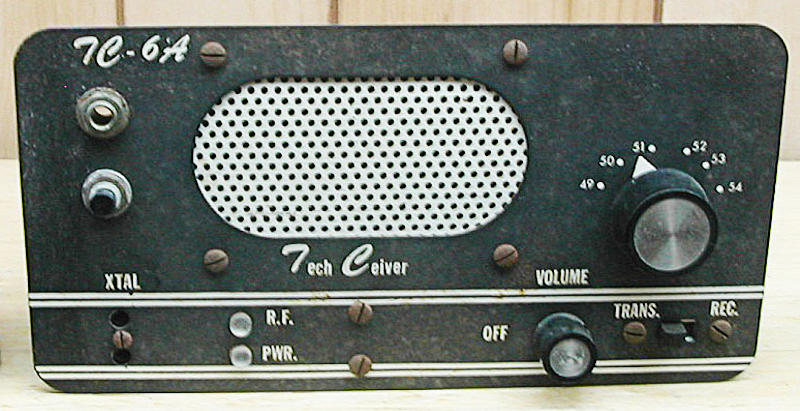
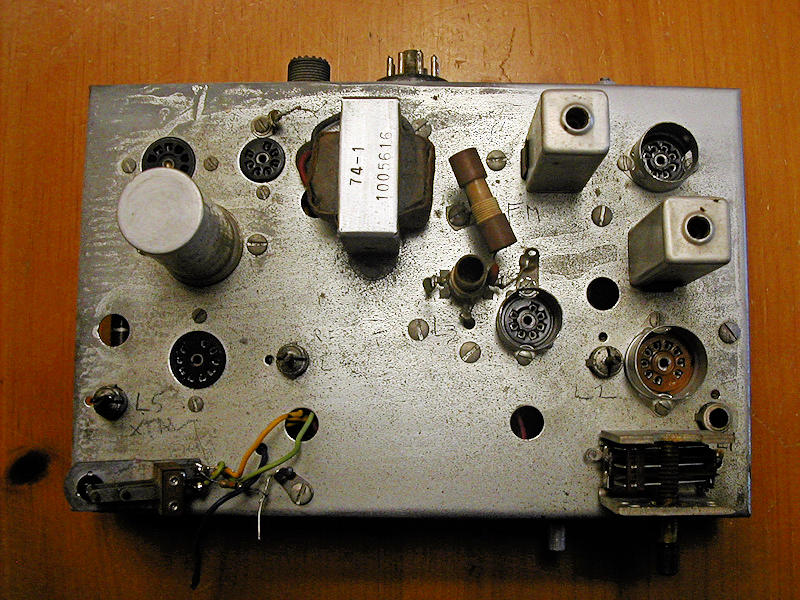
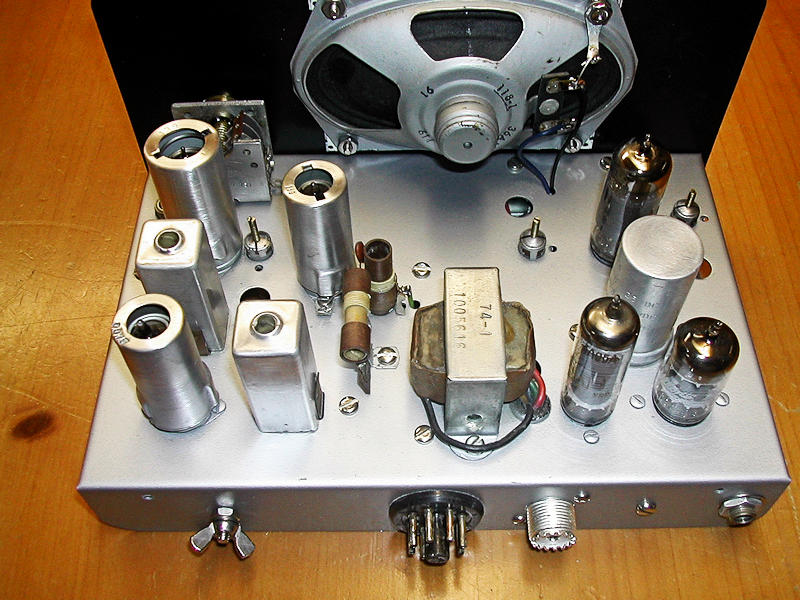
My transceiver arrived without tubes or shields and showing its age. While mine is the later “A” version, the rig began life as a TC-6. My manual has a section devoted to upgrading the TC-6 to the TC-6A. The upgrade involves 35 steps not including realignment. Results of doing the upgrade include better RX sensitivity, improved RX drift, a more stable IF stage and more power output.
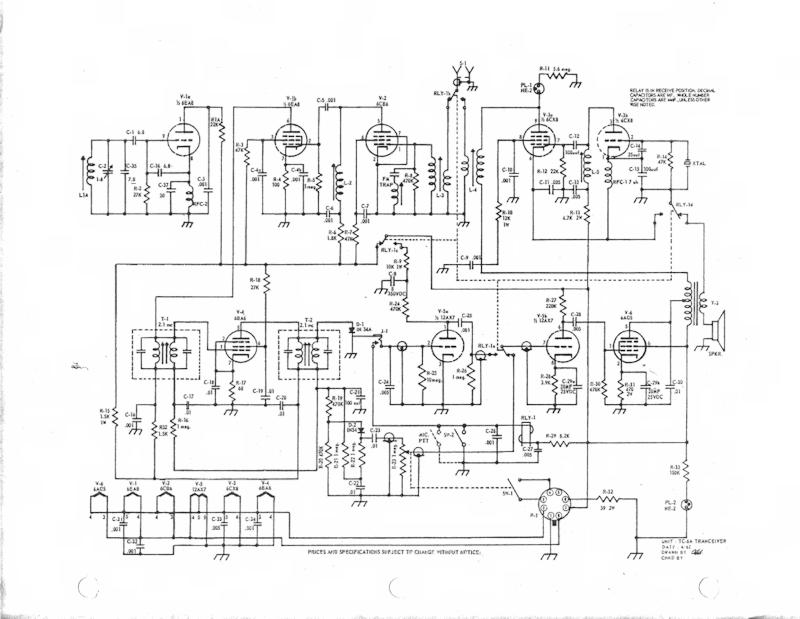
I am including a scan of the schematic in the photos section. Here is the description of the transmitter and receiver section.
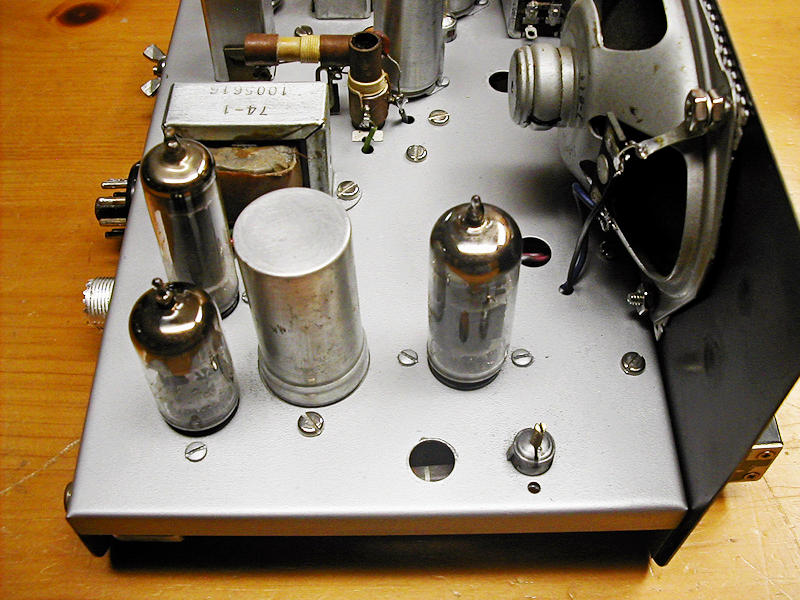
The transmitter RF section is a 6CX8 triode Colpitts oscillator/tripler and a pentode doubler final. Standard 8MHz crystals are employed.
A 12AX7 does double duty as a RX AF preamp/driver and TX high impedance microphone amplifier and driver. The 6AQ5 audio amp drives either the internal speaker or the plate modulates the RF power amplifier. Due to the RF power amplifier doubling, efficiency is low. Nominal output is a little better than 1W. Both RX and TX audio reports are excellent. I am using a Shure 350C for TX.
The RX chain begins with a 6CB6 RF amplifier feeding the pentode section of a 6EA8 mixer, while the triode section is the RX tunable oscillator. The only coupling from the RX oscillator to the mixer section is via leakage. A single 6BA6 is the 2.1MHz IF. A 1N54A acts as a classic envelope detector.
Required operating voltages are: 290VDC @ 100mA 6.3V @2.5A or 12.6V @1.25A.
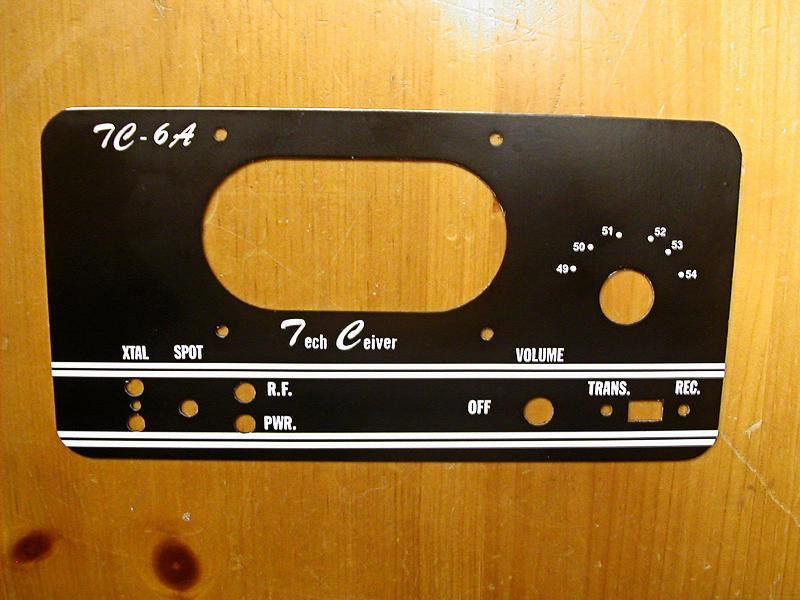
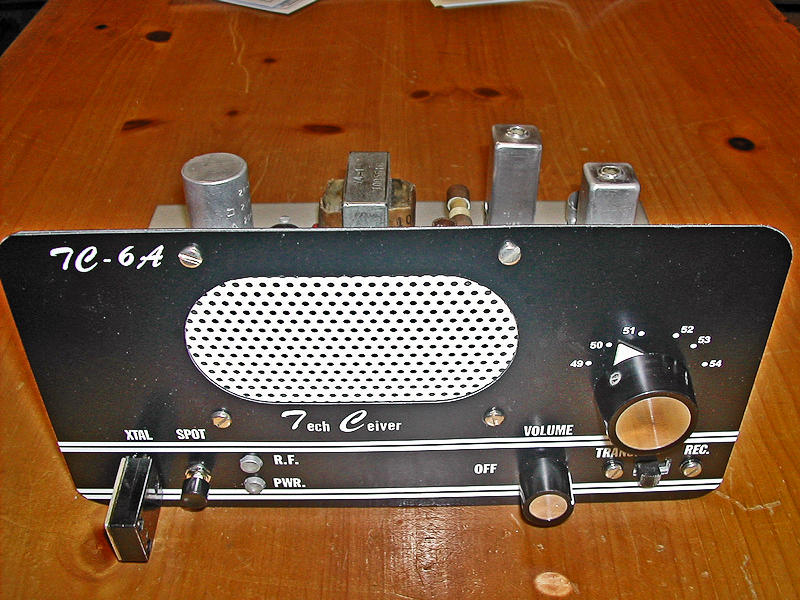
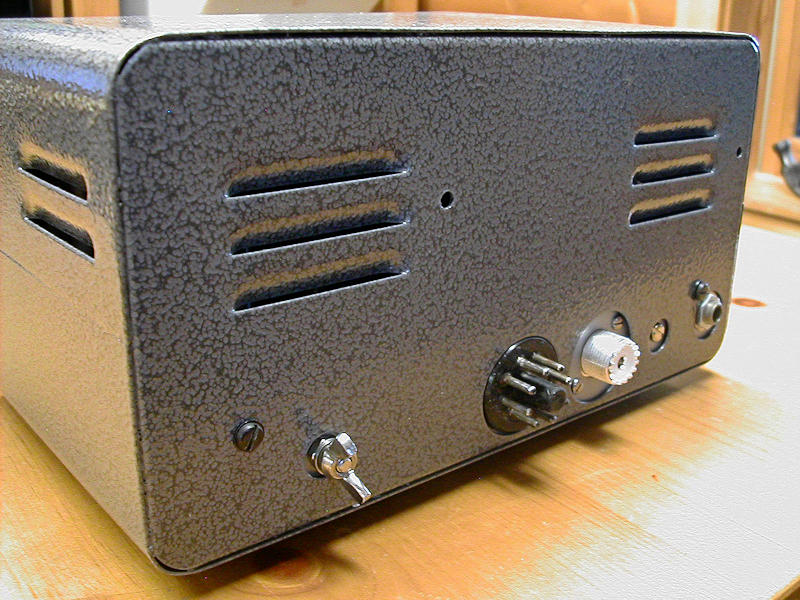
I did two procedures on this rig that I had never done before. The first was how to do the front panel. In the past I have done the artwork for a silk screen if the panel could not be touched up. Given the low cost of this rig, I decided to give a vinyl overlay a try. So, the panel was scanned and between DesignCAD 24 and Photoshop Elements a graphic was created. I took a bit of creative license in adding a label for a Spot switch. This is a superhet, and while not extremely narrow, it is a lot narrower than, say, a Heathkit Lunchbox and having a Spot switch has proved handy. I used FastSigns to create the overlays and ended up with several extras.
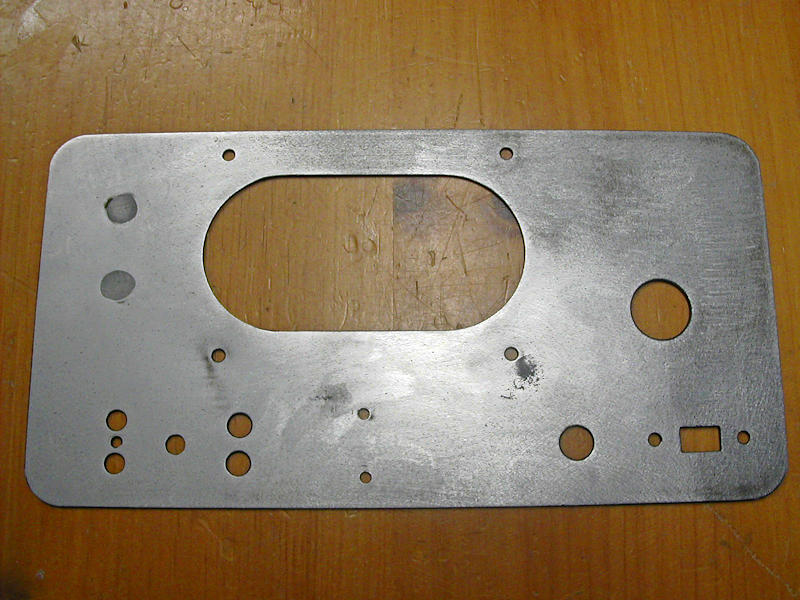
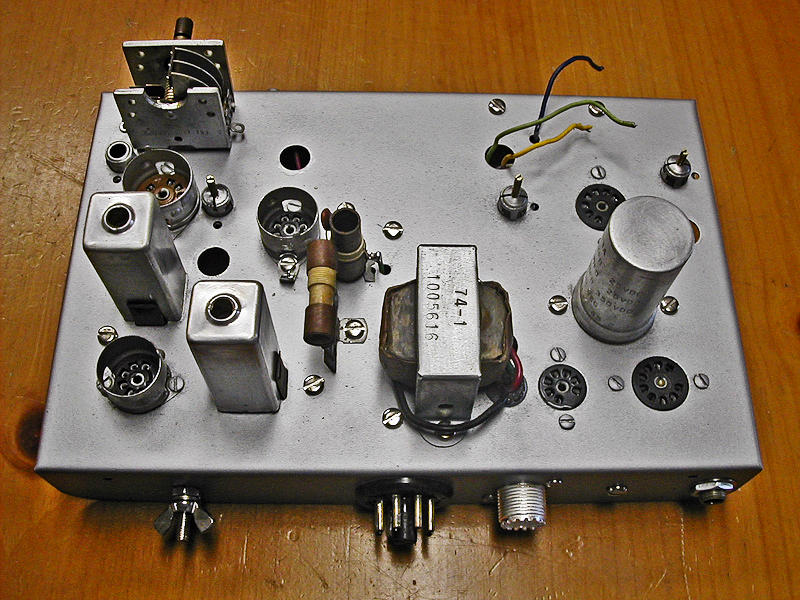
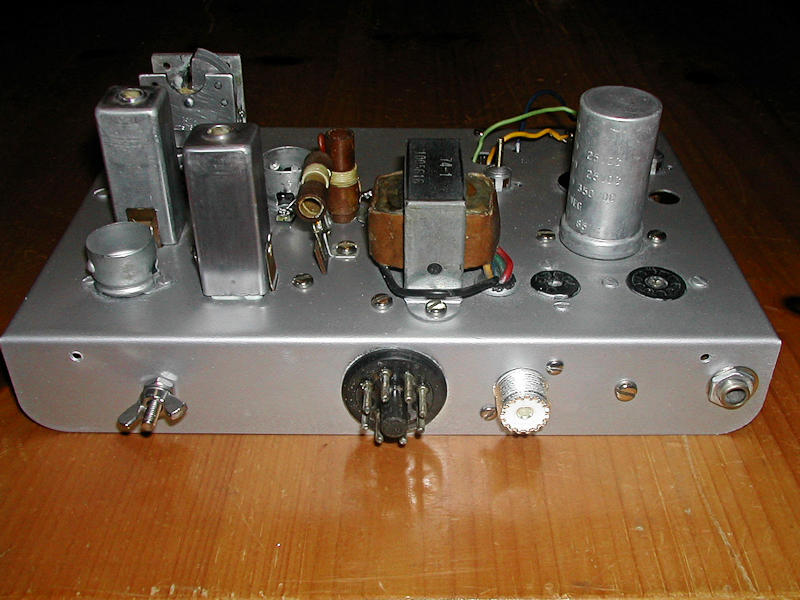
The 2nd deviation was to paint the chassis top. I had seen photos where this worked quite well and my chassis was a real mess. I removed as many components as I reasonably could and masked off the remaining parts. Instead of using aluminum aerosol that I had read about, I used Rustoleum Nickel Satin. It is a more realistic looking finish and lays down very nicely. The result was much better than anticipated.
The cabinet went to my powder coater for sand blasting and a beautiful hammertone finish.
It seems that anyone would want to restore a $400 rig, but these little inexpensive radios are often overlooked and deemed not worth the effort. I can tell you, my satisfaction in bringing this rig back to factory is just as good as doing an SR-400, etc.
Regards,
Dale
Read a review from 73 Tests, January 1963.
 |
 |
 |
 |
 |
 |
 |
 |
 |
 |
 |
 |
 |
 |